
Moon Studio’s No Rest for the Wicked is a tough-as-nails Soulslike, but there are moments of respite to be found. Alongside the array of weapons and armor found in chests or offered as rewards for quests, there’s a set of more rudimentary tools that you shouldn’t ignore. They include a pickaxe and a fishing rod, which all have a correspondent minigame of sorts. But the one you really don’t want to overlook is the shovel.
The shovel does what you’d expect: it digs. More importantly, it allows you to dig in specific sites around the world to uncover loot, and as such is an essential tool. And it’s one you can get early on for free, or later from a specific vendor. In this guide we’ll explain the steps for how to get a shovel in No Rest for the Wicked, as well as where to find backups for the future.
How to get a shovel in No Rest for the Wicked
The shovel is an extremely useful tool, especially if you’re looking for Clay. As with the other tools, it does have limited durability, so you’re likely to need a replacement at some point.
There are three ways for you to get a shovel in No Rest for the Wicked:
- Pick up a shovel early on in Mariner’s Keep
- Purchase it at 20 Coppers a pop from Fillmore over at Sacrament. The blacksmith will move there from Mariner’s Keep after you’ve defeated the first boss at the gate
- If you’re lucky, there’s also a chance of finding a shovel inside a chest
It’s always smart to have a shovel in your inventory, especially for trips toward new areas. On such expeditions you’re likely to spend quite some time getting through enemy lines and uncovering the map, so in order to avoid backtracking to Sacrament, it’s best to have one ready and with decent durability left.
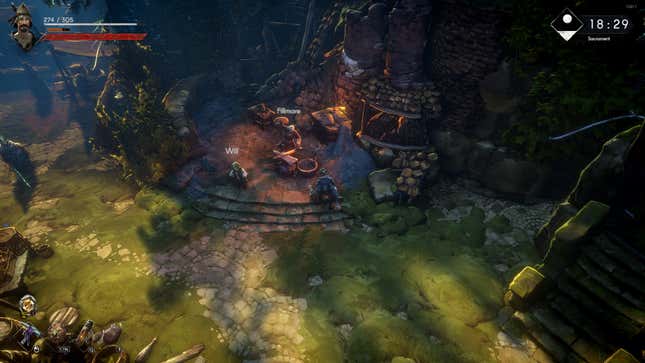
The blacksmith Fillmore always has shovels for sale. If you want to get a headstart, however, you can get one for free early on in the game.
Where to find a shovel early on in No Rest for the Wicked
No Rest for the Wicked’s first main area is Mariner’s Keep, and when you’re exploring it for the first time, you’ll come across a Storage Room that needs a key.
The Storage Room key can be looted from a dead body next to a ledge. In order to get there, after you’ve walked past the firepit and encountered the enemies surrounding a huge bonfire, you need to head to the western side of the map.
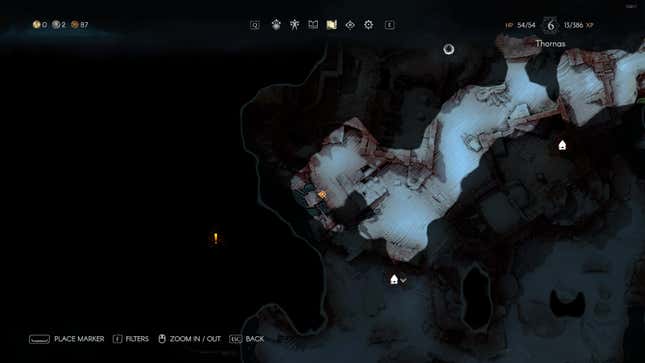
For reference, if you’re looking at the map, there’s a staircase that leads to a C-shaped balcony of sorts above. Look at the structures above the ocean, and you’ll notice there’s one connected with two thin pathways. That structure in between is where you need to fall down.
Once you’ve looted the Storage Room key, you can just drop down to the water (your character can swim, in case you didn’t know!) and use the stairs to get back up. From here, we’re heading all the way east toward the gate.
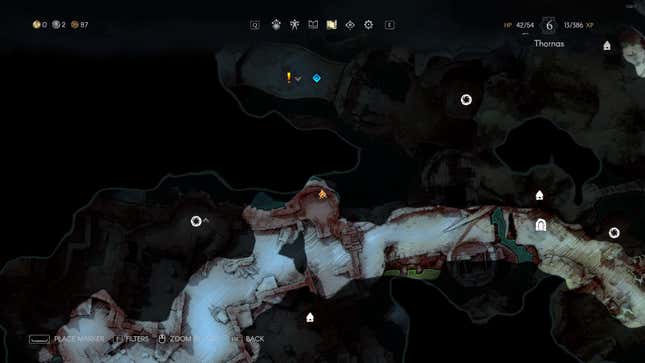
Right next to the gate itself, there’s a tower that contains the Storage Room we need to get inside. Approach the door, follow the button prompt to use the key, and you’ll have access.
There’s an item to pick up next to the chest—this is the Cooper Shovel. From here, feel free to backtrack around the area again in case you’ve noticed any digging spots, or continue forward with your new shovel.
Source link


